Facebook Business Manager is an all-inclusive resource where you can deal with the whole of your showcasing and publicizing action on Facebook. Worked for organizations, all things considered, permits you to make advertisements, deal with numerous resources, for example, Facebook Pages and Instagram profiles, and effectively share admittance to these resources across your group and with outside accomplices.
Why we use Business Manager (Facebook)?
Business Manager is useful to those who advertise on Facebook and shares multiple pages and advertisement accounts with other people –
• It provides a secure means to manage pages and accounts.
• The manager will get access to the views and work of other people associated with the business account.
• Businesses get separated from a personal Facebook profile.
Creating a Business Manager Account –
Business Manager Account will assist you with taking care of and sort out your business. There is a need for a Facebook account to create a Business Manager account.
To create a Business Manager Account-
1. Go to business.facebook.com/overview.
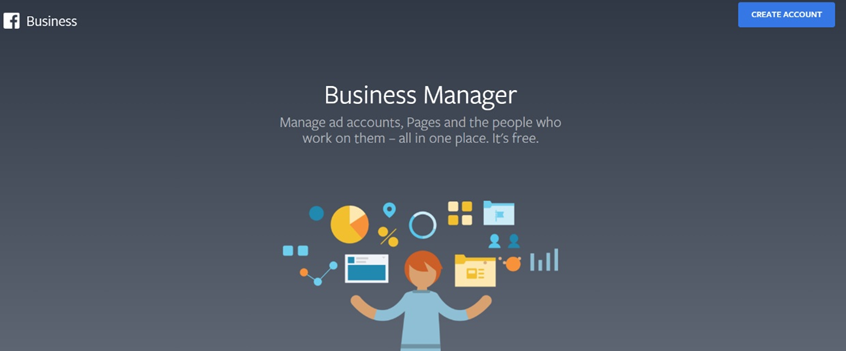
2. Click Create account.
3. Enter a name for your business, your name, and work email address and click Next.
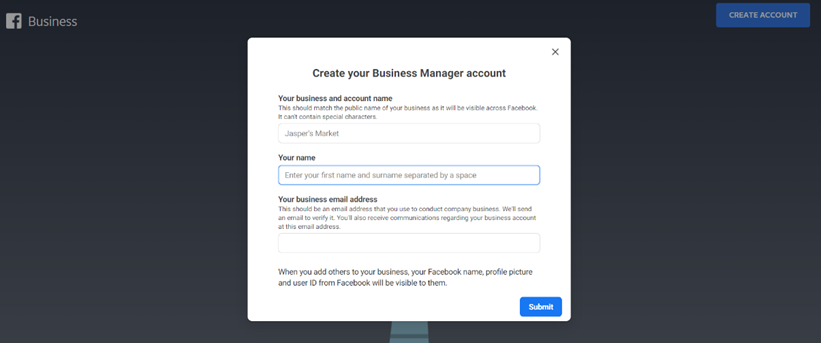
4. Enter your business details and click Submit.
Business Manager Dashboard
Add People to Your Business Manager –
To give people access to your business:
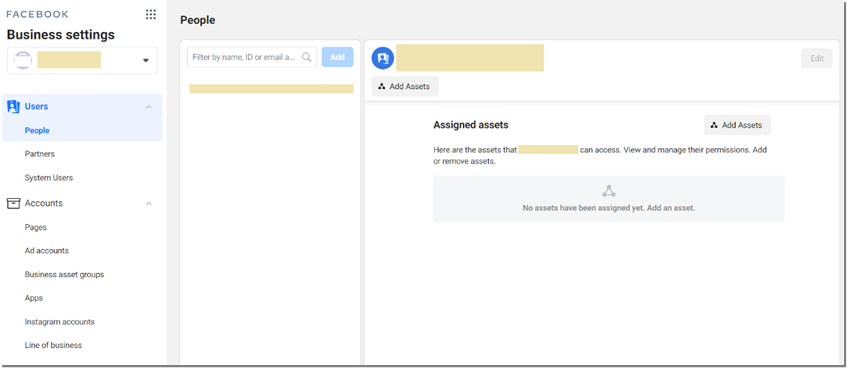
1. Go to Business Settings.
2. Click People.
3. Click + Add.
4. Enter the work email address of the person you want to add.
5. Assign the role (Employee or Admin Access)
a) Read the description for each role. 6. Click Next.
7. Choose a type of asset in the first column, then select the individual assets you want to add this person to in the second column. In the third column, toggle on each task you'd like to grant them. Or, toggle on admin access to allow them to manage the asset and perform all available tasks. You can add people to multiple assets on this screen by repeating this step.
 8. Click Invite.
Assign Access to the business team –
This is the most important feature of the Business Manager. Through this feature, you can assign different permission access to the people who work for your business. This gives you better control over your asset and information.
Two layers of permissions exist in Business Manager –
1) Permissions are specific to Business Manager-
[a] Business admins- Business administrators can handle all parts of the Business Manager, including adding or eliminating individuals from the worker list and altering or erasing the business.
[b] Business employees- Business workers can see all data in the business settings and can be allotted jobs by business administrators, yet can't roll out any improvements.
2) Permissions across Pages and Assets-
[a] Pages- Pages are resources constrained by the business they speak to. Pages must be asserted by one Business Manager; however, they can have numerous accomplices or individual records that entrance, post, and purchase advertisements.
[b] Ad Account- Ad accounts permit organizations to buy publicizing on associated Pages or applications. Advertisement records should be possessed by the Business Manager of the gathering overseeing solicitations. In any case, promotion records can be imparted to any business so they can run advertisements or perform investigations for your business.
[c] Apps- Applications can be guaranteed and claimed inside Business Manager and imparted to Business Manager accomplices who can deal with the application settings.
[ d] Pixels- Every Business Manager can make up to five pixels, which can be imparted to Business Manager accomplices. If another person is dealing with your advertisements for you, you can appoint them association to the pixel by choosing "Assign partner" and entering their business ID.
[e] Audience- Shared Audience permits others to get to the crowds you've made for your advertisements. You can mass divide Custom and Lookalike Audiences among advertisement accounts as well as media organizations if both the sharer and beneficiary are attached to a Business Manager.
Get your Business partners or Ad Agency in Business Manager Account-
1) From the dashboard, click Business Settings at the top right.
2) In the left menu, click Partners. Under Partner, click Add to share assets.
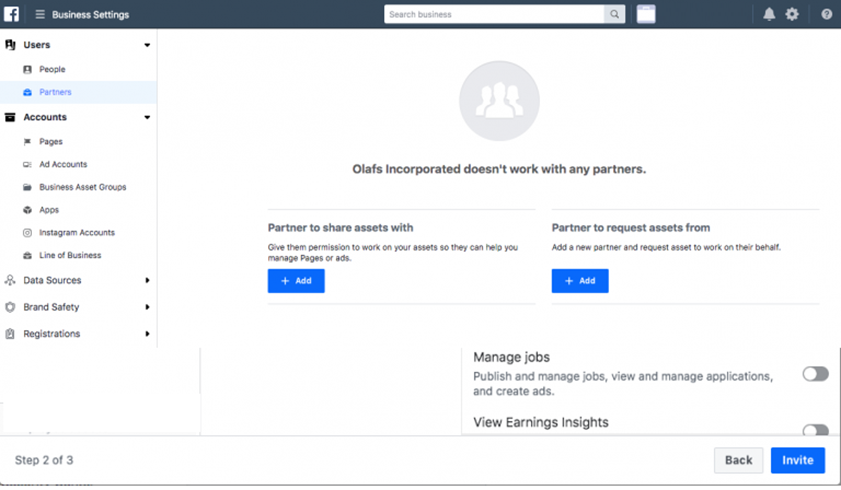
3) Your partner needs to have an existing Business Manager ID. Get it from them. Enter the ID and click Add.
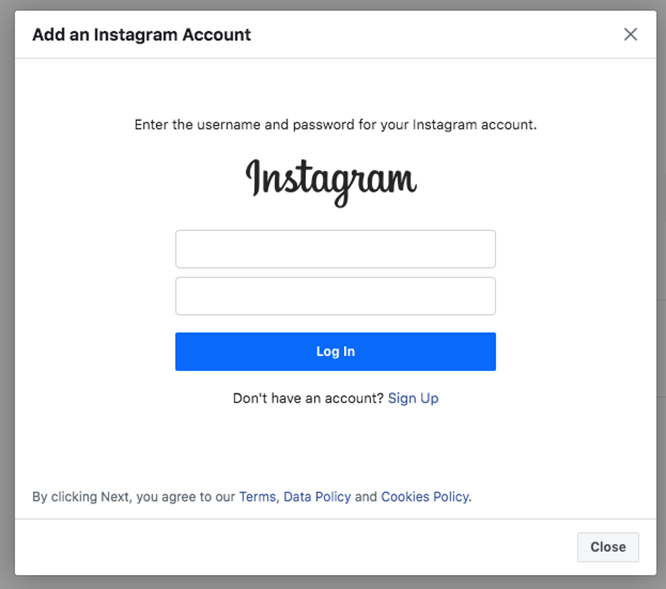
Adding Instagram Account to Business Manager Account –
1) From your dashboard, click Business Settings at the top right.
2) In the left column, click Instagram Accounts, then click Add. In the pop-up box, enter your Instagram login information and click Log In.
Setting up Facebook Pixel –
Facebook generates a small code for you known as Facebook Pixel. This code has to be placed on your website, and it gives you admittance to data that will permit you to follow changes, advance Facebook promotions, fabricate focused on crowds for your advertisements, and remarket to leads. You can create up to 10 pixels with your Business Manager
1) From your Business Manager dashboard, click Business Settings.
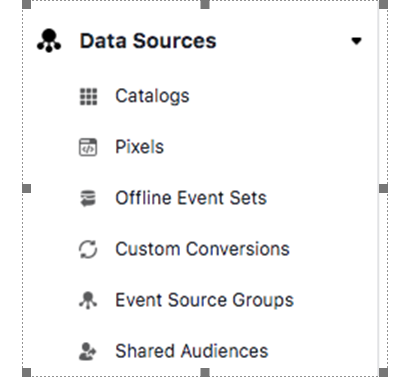
2) In the left column, expand the Data Sources menu and click Pixels, then click Add.
3) Give a name (up to 50 characters) to your pixel.
4) Enter your website URL, so Facebook can provide the recommendations for how to set up your pixel, then click Continue.
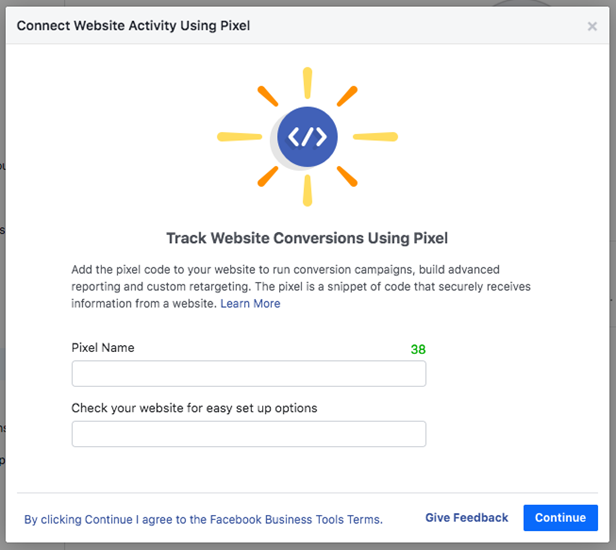
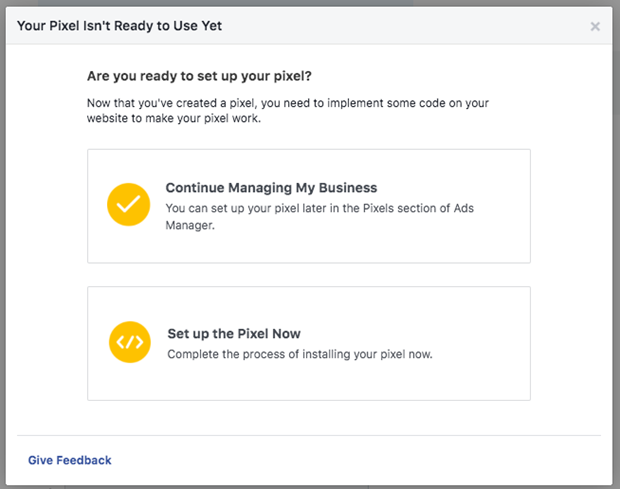
5) Click Set up the Pixel Now
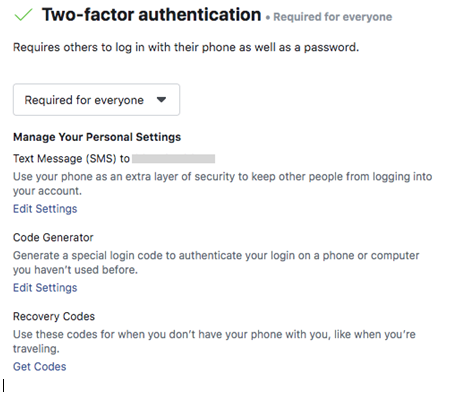
Business Manager Account Security –
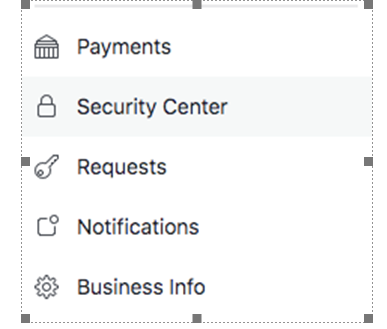
1) From the Business Manager dashboard, click Business Settings.
2) In the left menu, click Security Center.
3) Set up two-factor authentication. Setting it as Required for Everyone offers the highest security.